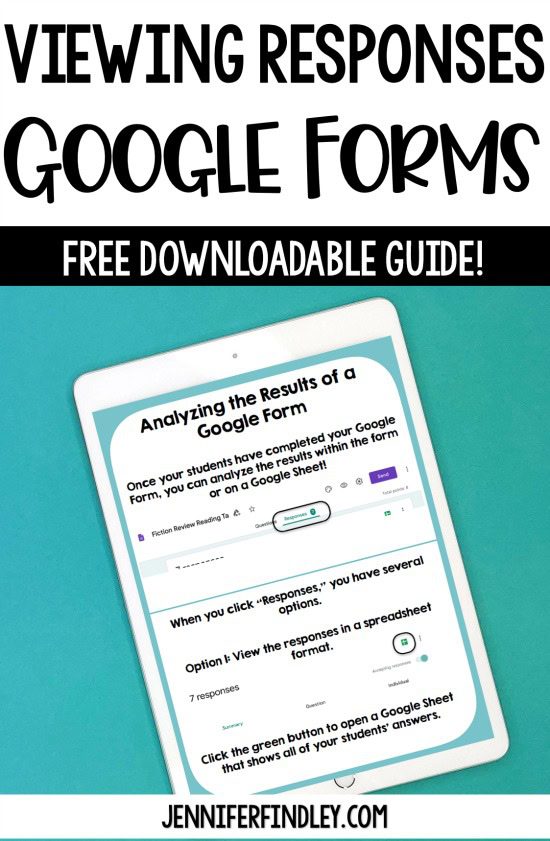
Google Forms are a great tool for digital learning and teaching! Not only does a Google Form collect all of your students’ responses and have the potential to grade responses instantly; it also takes the data and organizes it for you in multiple ways. This will help you with using the results and responses from Google Forms to drive your instruction. This post will look at two ways that you can view and analyze the responses, as well as a free printable guide to refer back to while you are viewing responses in Google Forms in the future.
Note: All responses on these Google Forms have been fabricated for this post/guide.

Once all of your students have had time to complete the Google Form assignment, you are ready to view the responses. To view the responses, you will click the “Responses” tab beside the “Questions” tab. The number shows you how many responses you have received for that Google Form assignment.
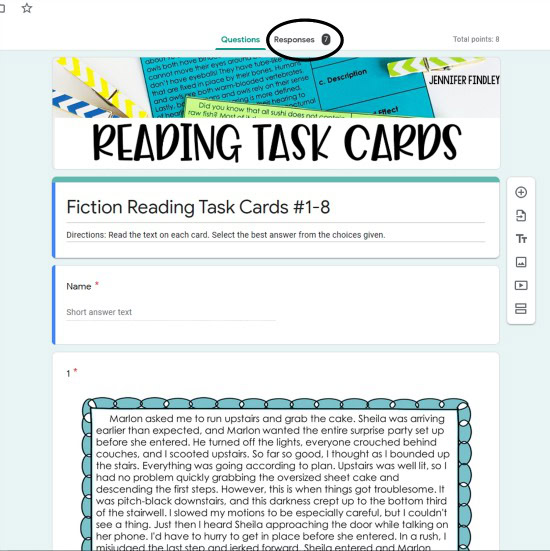
When you click “Responses” you have two main options to view your students’ scores and/or responses.
1. View the responses in a spreadsheet format.
2. View the responses directly within the Google Form.
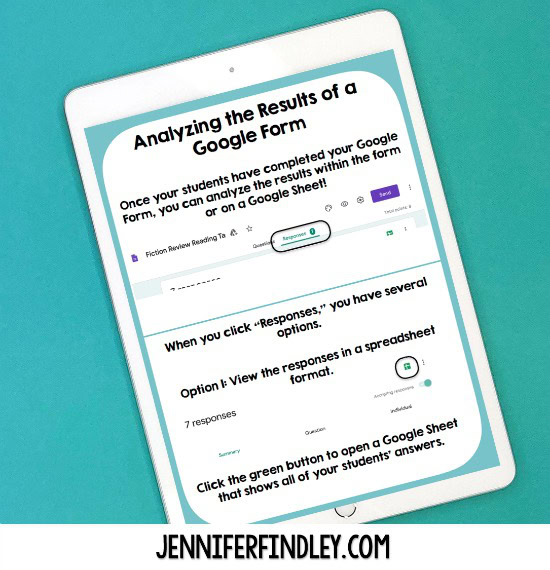
You can click the green button at the top of your “Responses” tab to open a Google spreadsheet that has every student’s responses. It will list their score first, then each answer.
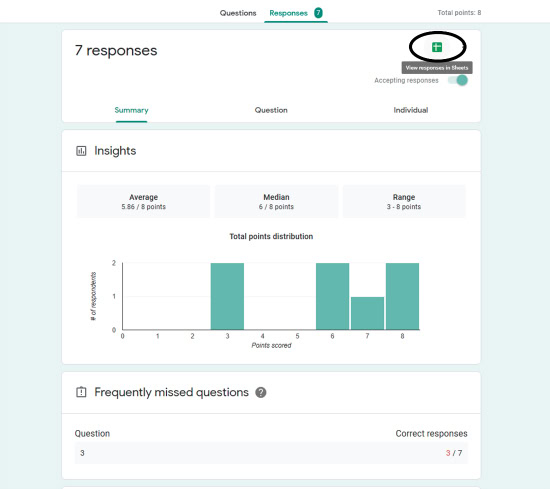

This is an easy and straightforward way to see responses and scores (for Google Forms that are self-grading). You can even send a copy of this spreadsheet to any support staff that serves your students.
Tip: If you want to view your results in the Google Sheet, complete the form yourself first with all of the right answers. Then, when you’re looking at the sheet with all of your students’ answers, the answer key will be across the top and you can compare your students’ answers to that row!
If you are not into spreadsheets and want to view the responses/results in a different way, you can also view within Google Forms.
This feature also organizes the data in a view different ways to help you make the best use of it.
If you view the “Summary” tab in the “Responses” section of Forms, you will see a graph that shows you the average scores for the form, as well as frequently missed questions. You can also see each question under this tab and how many students responded with each answer, with percentages.
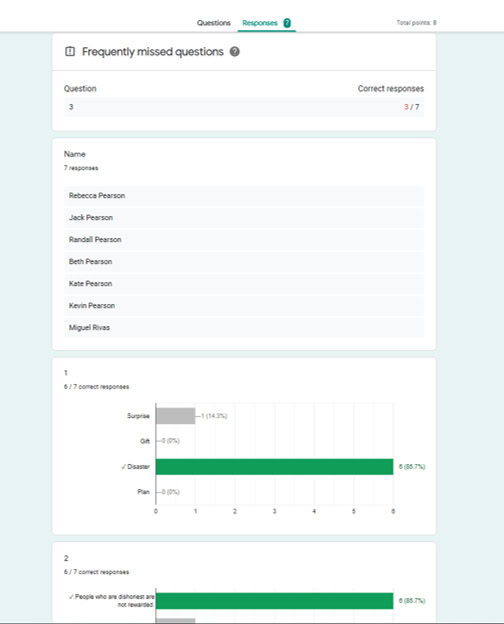
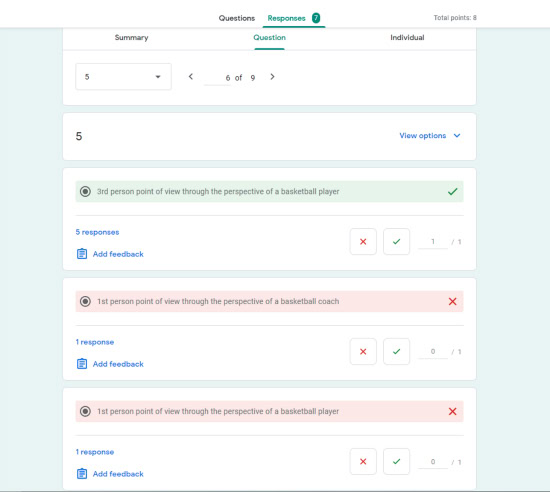
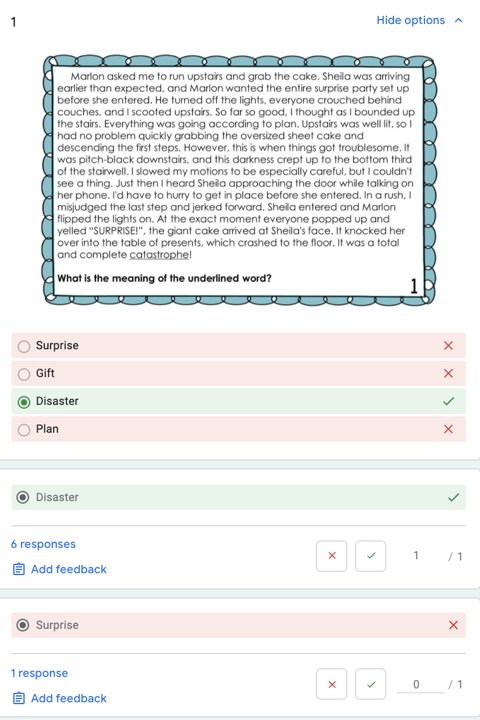
The “Question” tab allows you to look at one question at a time. You can view the number of students who chose each answer and choose which ones to give feedback to (You can only send feedback to students if you have required them to add their email addresses). You can also expand the question so you can see the question, all answer choices, and the number of students who chose each answer.
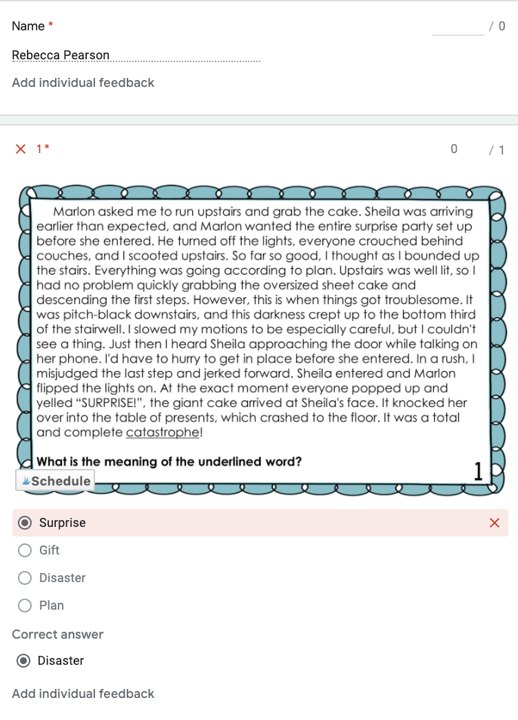
When you choose the “Individual” tab, you can analyze one student at a time. You can essentially view the student’s entire quiz and see each of their answers. The best part of this section is that you can send individual feedback to students (if they have entered their email address – most Google Form settings don’t automatically require students to enter their email addresses. Make sure you check the settings and enable that feature if you want it).
The data you get from Google Forms can be just as powerful as any assessment you give. You can use these in a formal way for grades or just an informal way to drive your instruction.
Results can be used to reteach skills and concepts whole group, plan small group re-teaching, or simply help you take the next steps in your instruction on that skill.

This reading review includes 64 different questions (each with its own text). There are 8 forms in all, with 8 review questions per form. The forms are already designed for self-grading!
If you love using Google Forms, but don’t love creating them and setting them up for easy self-grading, I have just what you need!
Check out these ready-to-assign Google Forms for math and literacy.
All of the work has been done for you and they are ready for you to copy to your drive and assign your students!